How to Use Dry Erase Whiteboard Paint
Aug 07 2018 0 Comments Tags: Colour Specialists, Speciality Finishes, Whiteboard
Dry erase paint is a new trend that is making all types of spaces more fun and functional
Tips for using dry erase paint
– Dry erase paint (or white board paint) actually takes two cans of paint that need to be mixed together and painted on the surface. (The paint doesn’t come pre-mixed because it needs to be used within a certain time frame, about an hour or two for many brands, once the two paints are mixed.) If you don’t want to be pressed for time and rush your paint coats, try dividing the paint up into smaller portions and mixing them together as needed. Just keep the paint ratio the same: If you pour out 1/3 of one can, pour out 1/3 of the other can as well.
– Start with a smooth surface. Section off the area you want to use, sand down any unevenness or old layers of paint, and paint the area with paint primer (This step is optional with some brands). Keep primer layers thin to avoid build-up and drips that will require re-sanding.
– Paint thin coats of the dry erase paint mixture and use at least 3-4 coats.
– Make your project a magnetic dry erase board, too! Just add this extra step: After priming, apply 4-6 thin coats of magnetic paint, sand any unevenness with a fine grit sand paper, and apply your dry erase paint over it once dry.
– Once you start using your new dry erase board, keep some dry erase spray and a rag on hand for easy cleanup.

Popular Whiteboard Paint Options
1. Rustoleum Dry Erase
Rustoleum’s dry erase paint will run you about $100 per 50 square feet, depending on the retailer you buy from. After you finish with painting your surface, you need to wait 72 hours (3 days) before using the area.
2. Vincinity
Vincinity costs $230 per 50 square feet. It will look like the classic dry erase board and is one of the better brands for use and clean up outlasting some of the others by a long way. Its been used in high grade jobs like Barangaroo and in the westpac building. After applying, the area will be ready to use in 4 days
What you’ll need
Painters tape
Sand paper (Bigger grits can start you off, but you’ll want a fine grit to finish with.)
Power sander
Interior latex primer
High density/ultra-smooth paint roller
Dry erase paint
Plastic floor covering
Paint trays
Protective eye, nose, and mouth coverings for sanding
Optional: Spackle and spackling tool if you need to cover holes
How to turn a wall into a dry erase board
1. Prep the area by laying down plastic covering to protect walls and floors from paint drips.
2. With painters tape, frame the area where you want your dry erase wall.
3. Sand the area with sand paper and sander until the area is smooth. (Spackle up any holes you uncover and re-sand the spackle until smooth.)
4. Apply 1-2 thin coats of interior latex primer. (If you are using a clear dry erase paint and want color, you will also need to paint the wall the desired color.)
5. Mix the two cans of dry erase paint together. Remember to proportionally divide and mix the paint if you don’t want to rush to use all the paint within 1-2 hours; this method may help you have better results as each layer will be able to fully dry before the next coat is applied.
6. Apply the dry erase paint mixture to the wall in thin coats. You will need about 2-3 coats.
7. Let the paint dry the required amount of wait time.
8. Try out your new paint with dry erase markers!

– Paint a table top for a paper-optional work (or play) space.
– Paint a pantry door for an easy place to leave notes or make grocery lists.
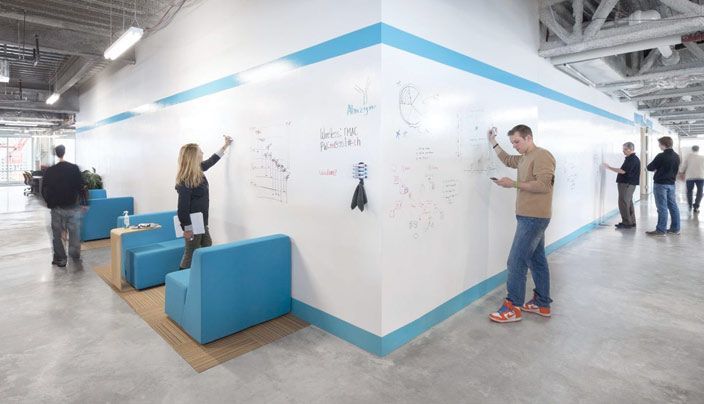
– Paint the meeting room wall at the office for brainstorming sessions or presentations.
– Paint a classroom for tutorials that can take place anywhere.
– Paint a kid’s room to solve the no-writing-on-the-walls problem.
– Paint a ceiling to create a showcase for temporary art or inspiration.
– Paint your own dry erase calendar on the wall
0 comments
Leave a Comment