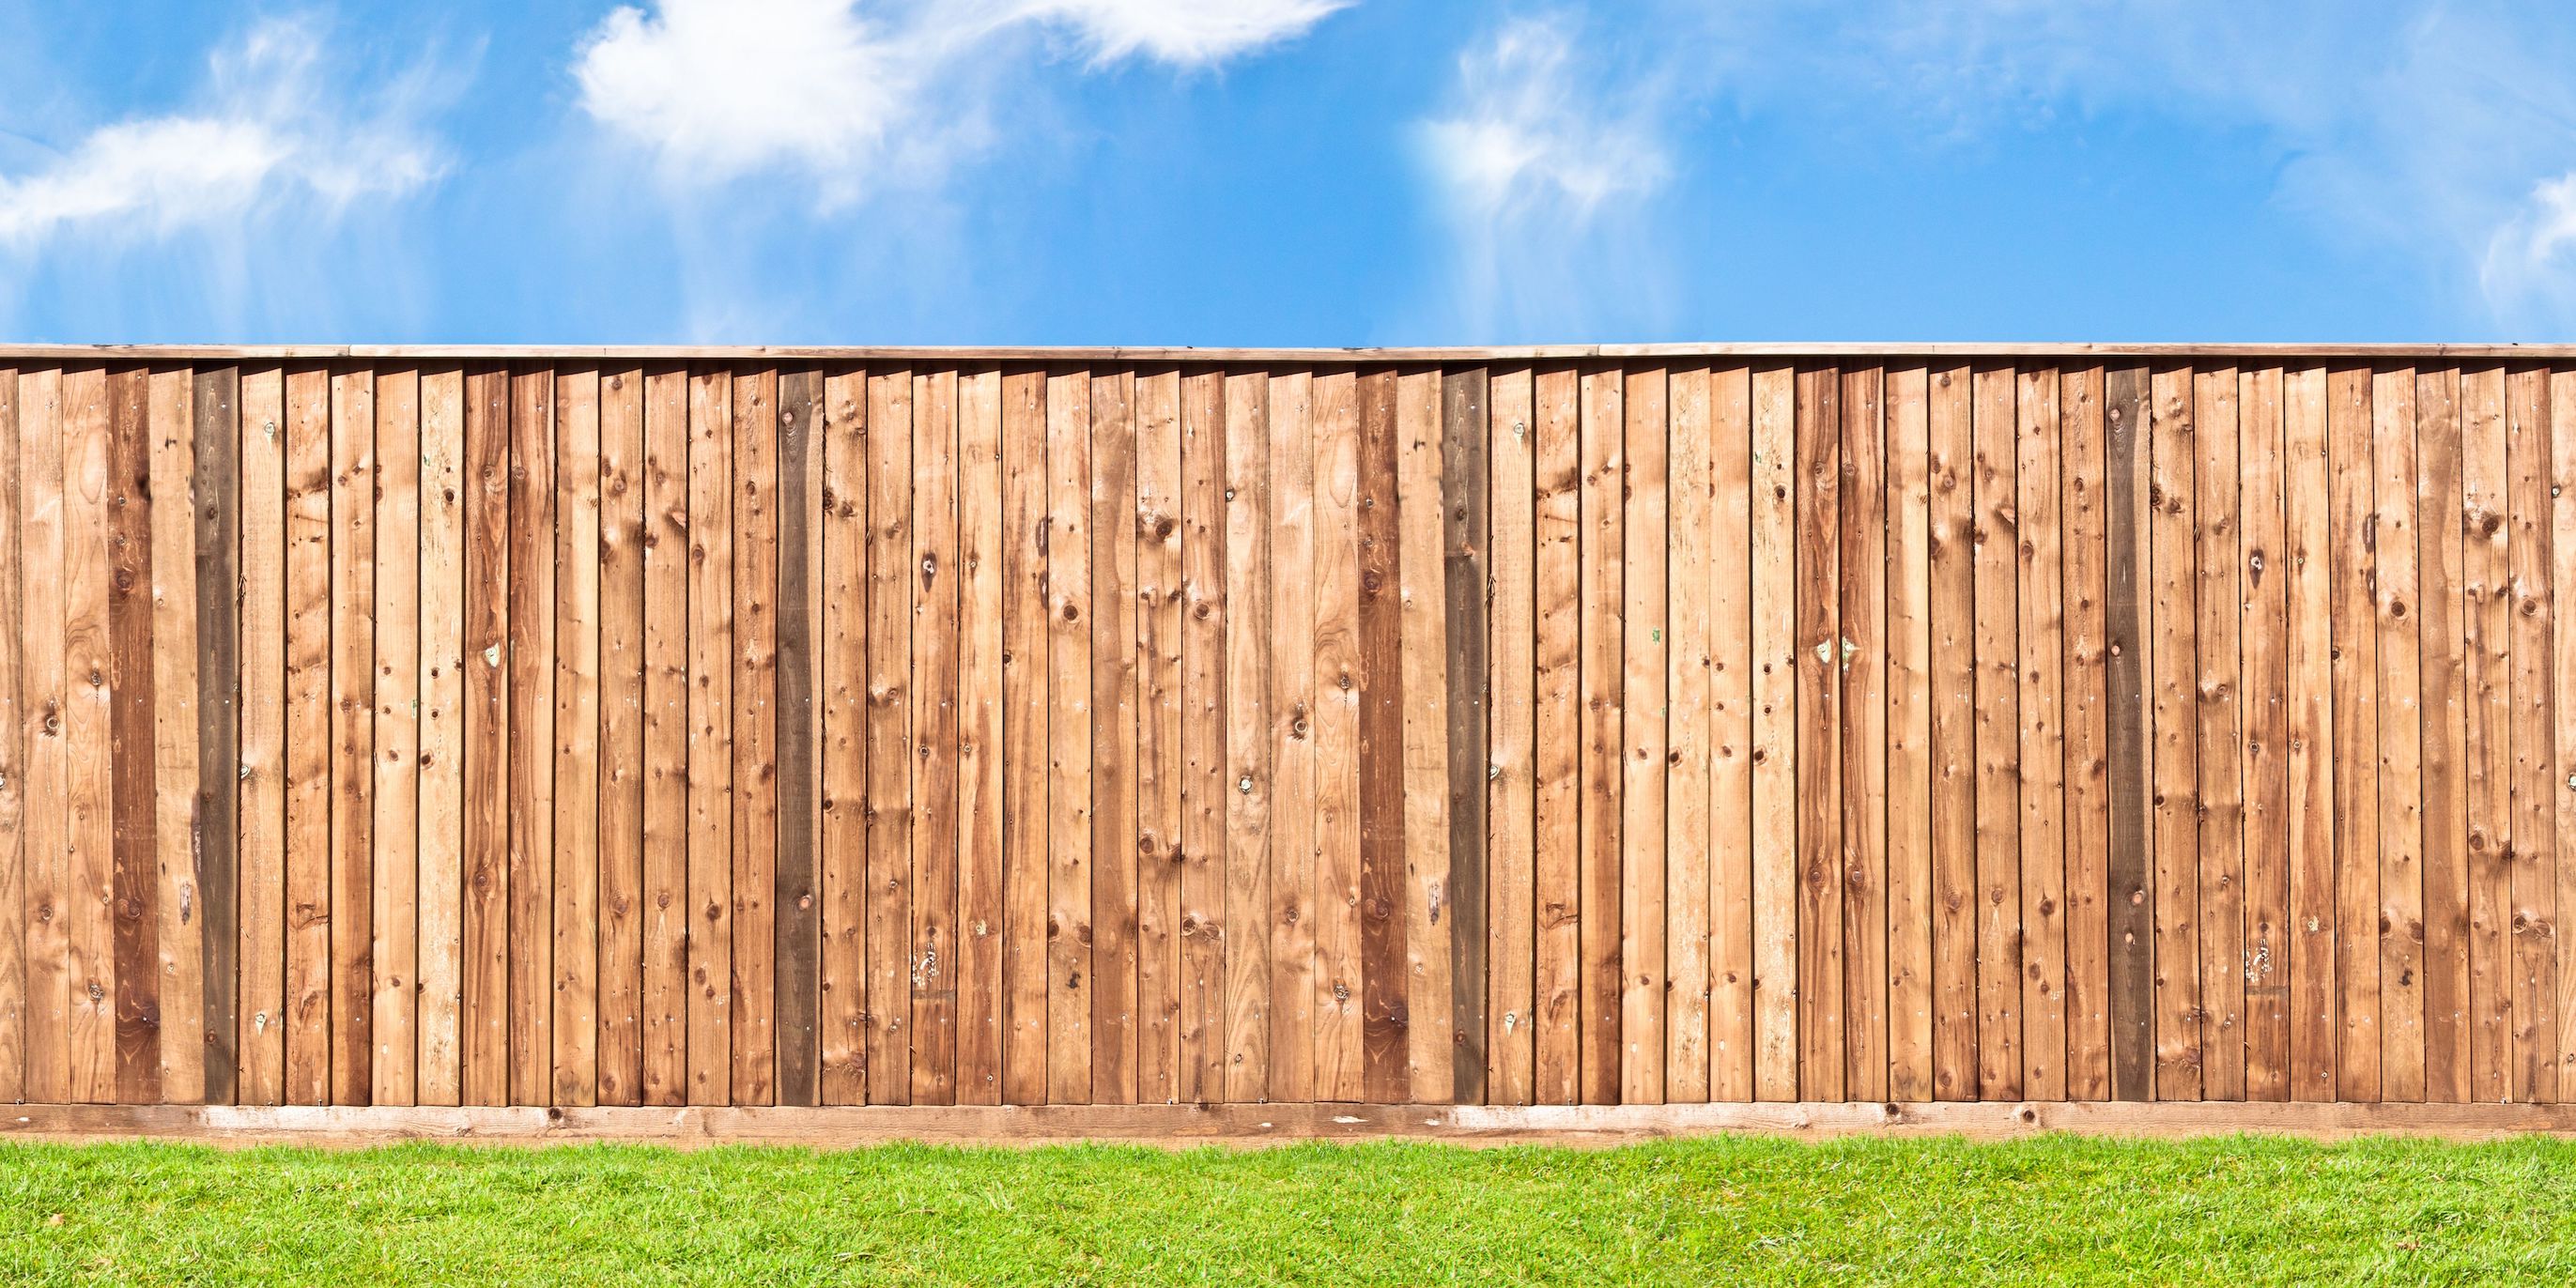
How To Paint A Wooden Fence
Painting your fence is a great way to freshen up the look of your property and protect your fence for longer. A crisp paint finish can do wonders, and can be relatively easy to do since it does not require delicate work and you can even use a paint sprayer. Whether you are revitalising an existing paint job, or putting a fresh coat of paint on, the below How-To is for you. We will take you through the simple steps of painting your fence and also recommend some of the best products you can use to ensure you get the best results.
- Sprayer (if not using roller and tray)
- Primer (if not already painted)
-
Drop sheets
-
Paint stirrer
-
Medium grit sandpaper (optional)
- Bucket for water
-
Damp Rag
- Painter's tape (optional)
1. Clean the fence
First, you need to wash the fence. The number one option is to use a pressure washer that will be thorough at ridding the fence of any dirt and debris. If you are unable to use a presher washer, we recommend using a rag and water with a bucket to wipe down the fence. When wiping, be vigorous, ensuring that you clean stubborn dirt on all surfaces. The more you clean, the higher the quality of the paint job will be. Ensure you knock off any loose old paint with the pressure washer or rag you are using.
You will generally need to dedicate the first day of your fence painting job to cleaning the fence, as the wood will take up to a day to dry. Only until the fence is completely dry, should you apply the first coat of paint.
Optional: Prior to washing the fence, if you feel the need to sand it, feel free to do so. Some wooden fences could use sanding to even out the surface or to remove splints in the wood.
2. Makes sure the surrounding areas are protected
Prepare the surrounding areas by moving plants away from the fence. Place plastic or fabric drop sheeting down on the surrounding areas to make sure you dont spill paint on the ground. If you have sections of the fence that you don't want painted, you are best off covering them with painters tape or paper and tape. Ensure there is enough space around the fence to move comfortably.
3. Prep the paint, sprayer or roller & brush
If your fence is not currently painted, you will need to prime it first. Primer provides a good undercoat that your finishing coats can sit on. It makes the bond between the wood and paint stronger, adding to life and the look of the finish. You are able to load the primer into the paint sprayer or use your roller and brush. Primer generally dries quickly, however once you have finished a coat of primer, wait at least a day before you paint the first finishing coat.
Note: Ensure that prior to using any paint, that it is stirred well.
If you are using a paint sprayer, you will need to thin out the paint accordingly to the specifications set out on the instructions of the sprayer. If you do not have a sprayer we recommend the handheld Graco Sprayer. If using a roller & tray, do long up and down strides. If you are using a paint brush for the tighter spaces, just make sure your brush is clean and the bristles are smooth for effective paint application. Use a wide paint brush so you can cover more area in a faster time. We recommend using a Wide paint brush.
4. Begin painting!
(For Sprayer) Fill up your paint sprayer, and close the plug. Follw the isntructions set out in the directions for the paint sprayer. Stand back from the fence about 20-30cm. When you spray, make sure that you are applying the coat evenly across the surface and do not bunch up paint in one section. You tilt your arm 90 degrees if spraying up and down, and vertical if you are spraying left and right You are best off getting a few thin coats of paint in for best results. So no need to apply too much paint in one go.
(For Roller & Brush) Fill up your paint tray generously. Cover your roller with a lot of paint. Spread generously and evenly across the fence using the roller initially. For the hard to reach places with the roller, use the brush instead. For best results, do 2-3 coats.
It is best to set aside 3-4 days in total for the entire paint job - ensuring you use at least one day for each coat, and at least one day to clean and sand the fence.